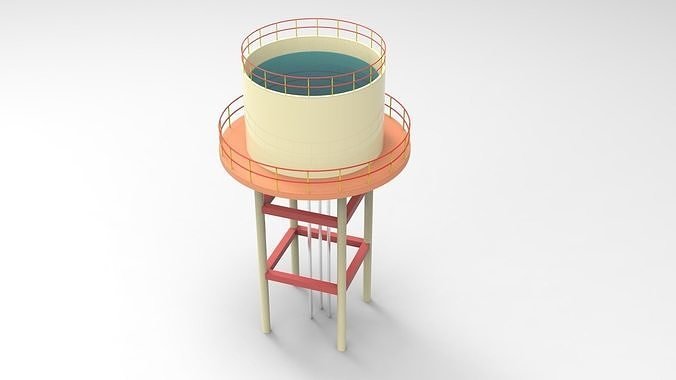
Constructing an overhead water tank, also known as an elevated water tank or elevated storage tank, is a common civil engineering project aimed at providing water storage for various purposes, such as municipal water supply, industrial processes, or irrigation. Here are the key steps involved in constructing an overhead water tank:
Throughout the construction process, adherence to safety protocols, quality control measures, and environmental regulations is crucial to ensure the successful completion of the overhead water tank project. Effective project management and communication among stakeholders also play a vital role in meeting project objectives and deadlines.
- Site Selection: Choose a suitable location for the tank that provides adequate elevation to ensure proper water pressure distribution. Consider factors such as accessibility, ground stability, proximity to water sources, and land ownership.
- Design and Engineering: Work with civil engineers and structural designers to develop a detailed design for the overhead tank. The design should consider factors such as tank capacity, structural stability, seismic resistance, and local building codes and regulations.
- Foundation Construction: Excavate the site and construct the foundation for the tank. The foundation provides stability and support for the structure, typically consisting of reinforced concrete footings or piles.
- Tank Construction: Construct the tank structure using reinforced concrete or steel. The tank may be cylindrical or rectangular in shape, depending on the design requirements and space constraints. The walls and roof of the tank are typically built onsite using formwork and reinforcing steel bars.
- Waterproofing and Coating: Apply waterproofing membranes or coatings to the interior and exterior surfaces of the tank to prevent water leakage and corrosion. This helps to maintain water quality and extend the lifespan of the tank.
- Installation of Inlet and Outlet Pipes: Install inlet pipes to allow water to flow into the tank from a water source, such as a pump or gravity-fed pipeline. Similarly, install outlet pipes to distribute water from the tank to the intended users or distribution network.
- Access Stairs or Ladders: Provide safe access to the top of the tank for maintenance and inspection purposes. This may involve installing external stairs, ladders, or access hatches as per safety standards.
- Filling and Testing: Fill the tank with water and conduct hydraulic tests to ensure that it can withstand the intended water pressure and volume. Inspect the tank for any leaks or structural defects and make necessary repairs or adjustments.
- Landscaping and Site Restoration: Surround the tank with appropriate landscaping and fencing to protect it from vandalism and unauthorized access. Restore the site to its original condition or as per project specifications, including grading, drainage, and erosion control measures.
- Commissioning and Handover: Complete all necessary documentation, including as-built drawings, operation manuals, and warranties. Commission the tank for operational use and hand it over to the client or responsible authorities for ongoing maintenance and management.
